4.8 KiB
Migration Guide from Arweave's SmartWeave SDK to Warp SDK
This guide describes the simplest way to switch to the new version of SmartWeave. It uses WebNodeFactory for Node and WarpWebFactory for Web to quickly obtain fully configured, mem-cacheable SmartWeave instance. To see a more detailed explanation of all the core modules check out the source code.
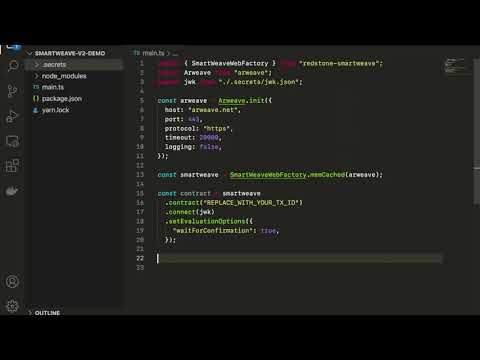
You can watch this tutorial on YouTube 🎬
Need help? 🙋♂️
Please feel free to contact us on Discord if you face any problems.
1. Update dependencies 📦
1.1 Install Warp
# Yarn
yarn add warp

# or NPM
npm install warp
1.2 Remove smartweave v1
If smartweave was installed globally, add -g flag to npm or use yarn global
# Yarn
yarn remove smartweave

# or NPM
npm uninstall smartweave
1.3 Replace imports
You can import the full API or individual modules.
import * as WarpSdk from 'warp-contracts';
import { Warp, Contract, ... } from 'warp-contracts';
2. Update your implementation 🧑💻
2.1 Initialize a Warp client
import Arweave from 'arweave';
import { WarpNodeFactory } from 'warp-contracts';

// Create an Arweave instance
const arweave = Arweave.init({
  host: 'dh48zl0solow5.cloudfront.net',
  port: 443,
  protocol: 'https',
  timeout: 20000,
  logging: false
});

// Create a Warp client
const smartweave = WarpNodeFactory.memCached(arweave);
For Web environment you should use WarpWebFactory instead of WarpNodeFactory.
In this example we've used the memCached method. You can see other available methods in documentation:
[Optional] Custom modules 🛠
Warp has a modular architecture, which allows you to connect custom modules to any part of the Warp client implementation. See custom-client-example.ts to learn more.
2.2 Initialize contract object
// Simple connection (allows to read state)
const contract = warp.contract('YOUR_CONTRACT_TX_ID');
💡 Note! For being able to write interactions to blockchain you need to connect wallet to contract object.
const contract = warp
  .contract('YOUR_CONTRACT_TX_ID')
  .connect(jwk) // jwk should be a valid private key (in JSON Web Key format)
  .setEvaluationOptions({
    // with this flag set to true, the write will wait for the transaction to be confirmed
    waitForConfirmation: true
  });
2.3 Interact with your contract
Read state (readContract in V1)
// Read state (similar to the "readContract" from SmartWeave V1)
const { state, validity } = await contract.readState();

// state is an object with the latest state

// validity is an object with valid and invalid transaction IDs
// E.g. { "TX_ID1": true, "TX_ID2": false, ...}
View state (interactRead in V1)
// View state (similar to the "interactRead" from SmartWeave V1)
const { result } = await contract.viewState<Input, View>({
  function: "NAME_OF_YOUR_FUNCTION",
  data: { ... }
});
Write interaction (interactWrite in V1)
// Write interaction (similar to the "interactWrite" from SmartWeave V1)
const result = await contract.writeInteraction({
  function: "NAME_OF_YOUR_FUNCTION",
  data: { ... }
});
💡 You can read detailed explanation of each contract method here.
[Optional] 2.4 Confgure logging
Warp uses tslog library for logging. By default logger is set to "debug" level, which means that all messages with level "debug" or higher are logged.
Update logger options
LoggerFactory.INST.setOptions({
  type: 'json',
  displayFilePath: 'hidden',
  displayInstanceName: false,
  minLevel: 'info'
});
Learn more about available logging options in tslog documentation.
Update logger level
Instead of updaitng all logger options you can simply set the new minimum logger level
LoggerFactory.INST.logLevel('info');
Available log levels are listed here.
3. Test everything 🔥
Before deploying your changes test it carefully. If you face any problems please contact us on our discord. We'll be happy to help 😊